Difference between revisions of "QS for QB Installation"
| Line 19: | Line 19: | ||
<gallery widths=288px heights=150px> | <gallery widths=288px heights=150px> | ||
| − | file:Prereq1. | + | file:Prereq1.png| '''Click Next''' |
file:Prereq2.png| '''Click Next''' ''(.Net Framework is skipped when your computer already has required version)'' | file:Prereq2.png| '''Click Next''' ''(.Net Framework is skipped when your computer already has required version)'' | ||
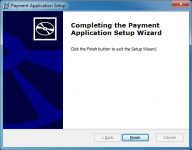
file:Prereq3.png| '''Click Finish''' | file:Prereq3.png| '''Click Finish''' | ||
Revision as of 08:56, 23 January 2018
QuickSale™ for QuickBooks® is intended for use with QuickBooks Financial versions Pro, Premier, and Enterprise 2008 and higher. (If you are utilizing QuickBooks POS, please call CHARGE Anywhere at (800) 211-1256 x 100.)
Installation Guide - Click link to download a video guide to Installing the QuickSale™ for QuickBooks Software
Multi PC Installation Guide - Click link to download a video guide to Installing the QuickSale™ for QuickBooks Software on Multiple Computers. Please note that you will need to contact your merchant service provider for additional user licenses if installing on Multiple Computers
Before installation, ensure that QuickBooks is closed. You will also want to ensure that the QuickBooks background process has ended. To do so, open a task manager and click on the Processes tab. Click on ‘Image Name’ to sort alphabetically and look for ‘QBW32.exe’ or 'QuickBooks (32 bit)'. If the process is found, highlight and click end process.
1. Click here to download your QuickSale™ for QuickBooks software.
2. Read and agree to the CHARGE Anywhere License Agreement, enter your license key and press Submit. (License Key is included in your activation email). Save the file, CHARGE Anywhere.zip, to the desktop of your computer.
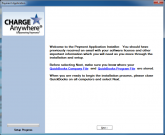
3. Open the CHARGE Anywhere zip folder and double click the CHARGE Anywhere icon within to begin installation. Follow the prompts.
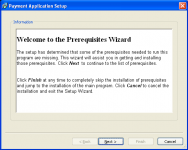
Click Next
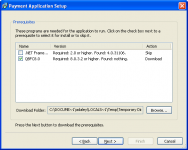
Click Next (.Net Framework is skipped when your computer already has required version)
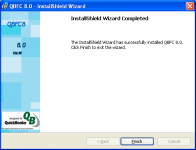
Click Finish


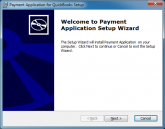
Click Next
Click Next
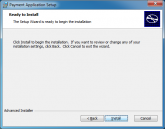
Click Install

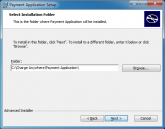
Click Next
Click Next


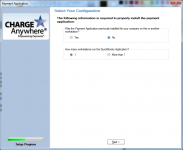
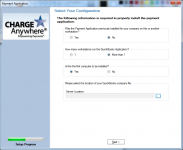
For single computer with QuickBooks. Database location: C Drive > CHARGE Anywhere > Payment Gateway > db4.mdb
For multiple computers with QuickBooks (first computer). Server Location: Browse for a shared folder to place the database file.
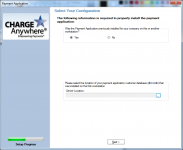
For multiple computers with QuickBooks (additional computers) Server Location: Browse the shared location for the database file (db4).


Click Finish
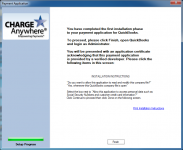
Click Finish. The plug in now installed. Right click on your QuickBooks icon and select Run as Administrator to complete Setup. Click here for more info.

